> ## Documentation Index
> Fetch the complete documentation index at: https://docs.compyle.ai/llms.txt
> Use this file to discover all available pages before exploring further.
# Deployment
> How to deploy apps generated with Compyle
## Overview
When your Compyle generated project includes features such as **authentication**, **forms**, or **file uploads**, it requires a backend to handle data securely.
Compyle automatically generates the backend logic and structure you need.\
However, for now, you’ll still need to **host and manage** your backend manually.
We’re actively working on integrated backend hosting and one-click deployment within Compyle.\
Until that’s released, this guide will walk you through deploying your website using Supabase and Vercel.
***
## Why Supabase?
We recommend **Supabase** as the backend platform for your projects. It’s fast to set up, integrates smoothly with **Next.js**, and provides all the essentials out of the box:
* Authentication (Email, Google, GitHub, and more)
* A fully managed PostgreSQL database
* Real-time APIs
* File storage
* Tight compatibility with Compyle-generated project
Supabase takes care of most backend complexity — what would normally take weeks can now be done in minutes.
***
## Setting Up Supabase
1. Go to [**supabase.com**](https://supabase.com).
2. Sign in with your **GitHub account**.
3. Click **New Project**.
4. Choose a project name, region, and database password.
5. Once created, open your **Supabase Dashboard**.
***
### Get Your API Keys
Inside your Supabase dashboard:
1. Open your project.
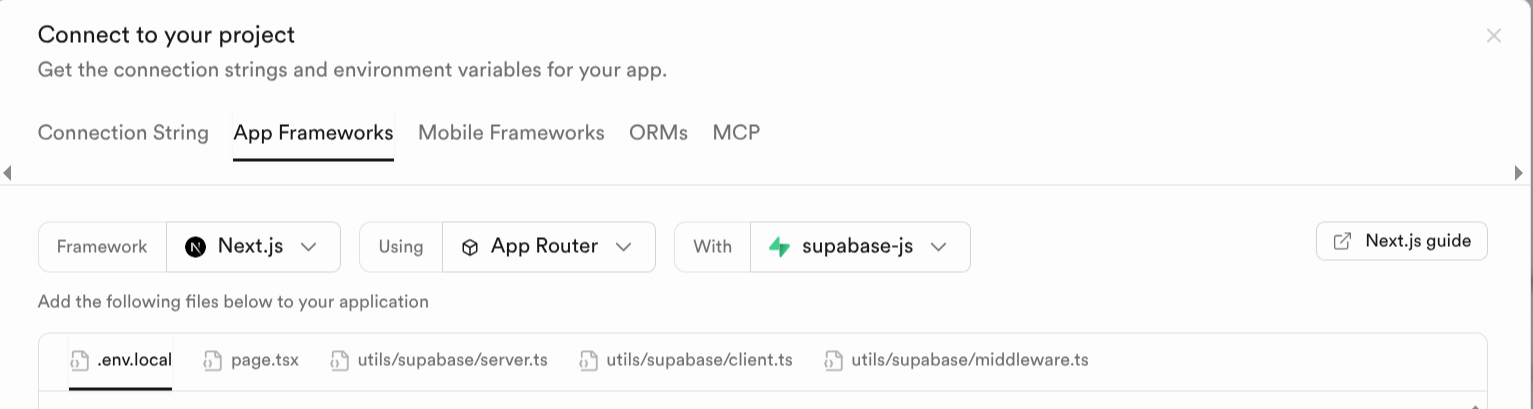
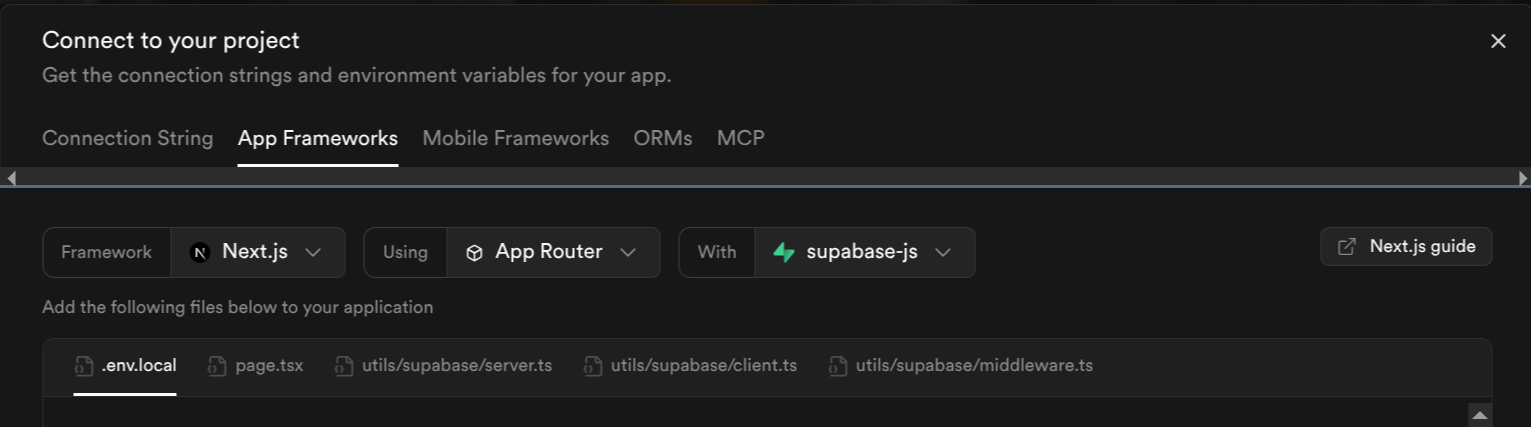
2. Click the **Connect** button at the top of the page.

 Copy the following values and keep them ready:
```bash theme={null}
NEXT_PUBLIC_SUPABASE_URL=your-url
NEXT_PUBLIC_SUPABASE_ANON_KEY=your-anon-key
```
Copy the following values and keep them ready:
```bash theme={null}
NEXT_PUBLIC_SUPABASE_URL=your-url
NEXT_PUBLIC_SUPABASE_ANON_KEY=your-anon-key
```
 ***
## Configure Your Database
If your compyle generated project collects user data (for example, login details, form responses, or uploaded files), you’ll need to create the database tables that your project expects.
1. Open your Supabase **project**.
2. Go to the **SQL Editor** in the sidebar.
3. In your project folder, locate the SQL files that define your database structure.
4. Copy each SQL file’s contents into the **Supabase SQL Editor**.
5. Click **Run** to execute each file.
***
## Configure Your Database
If your compyle generated project collects user data (for example, login details, form responses, or uploaded files), you’ll need to create the database tables that your project expects.
1. Open your Supabase **project**.
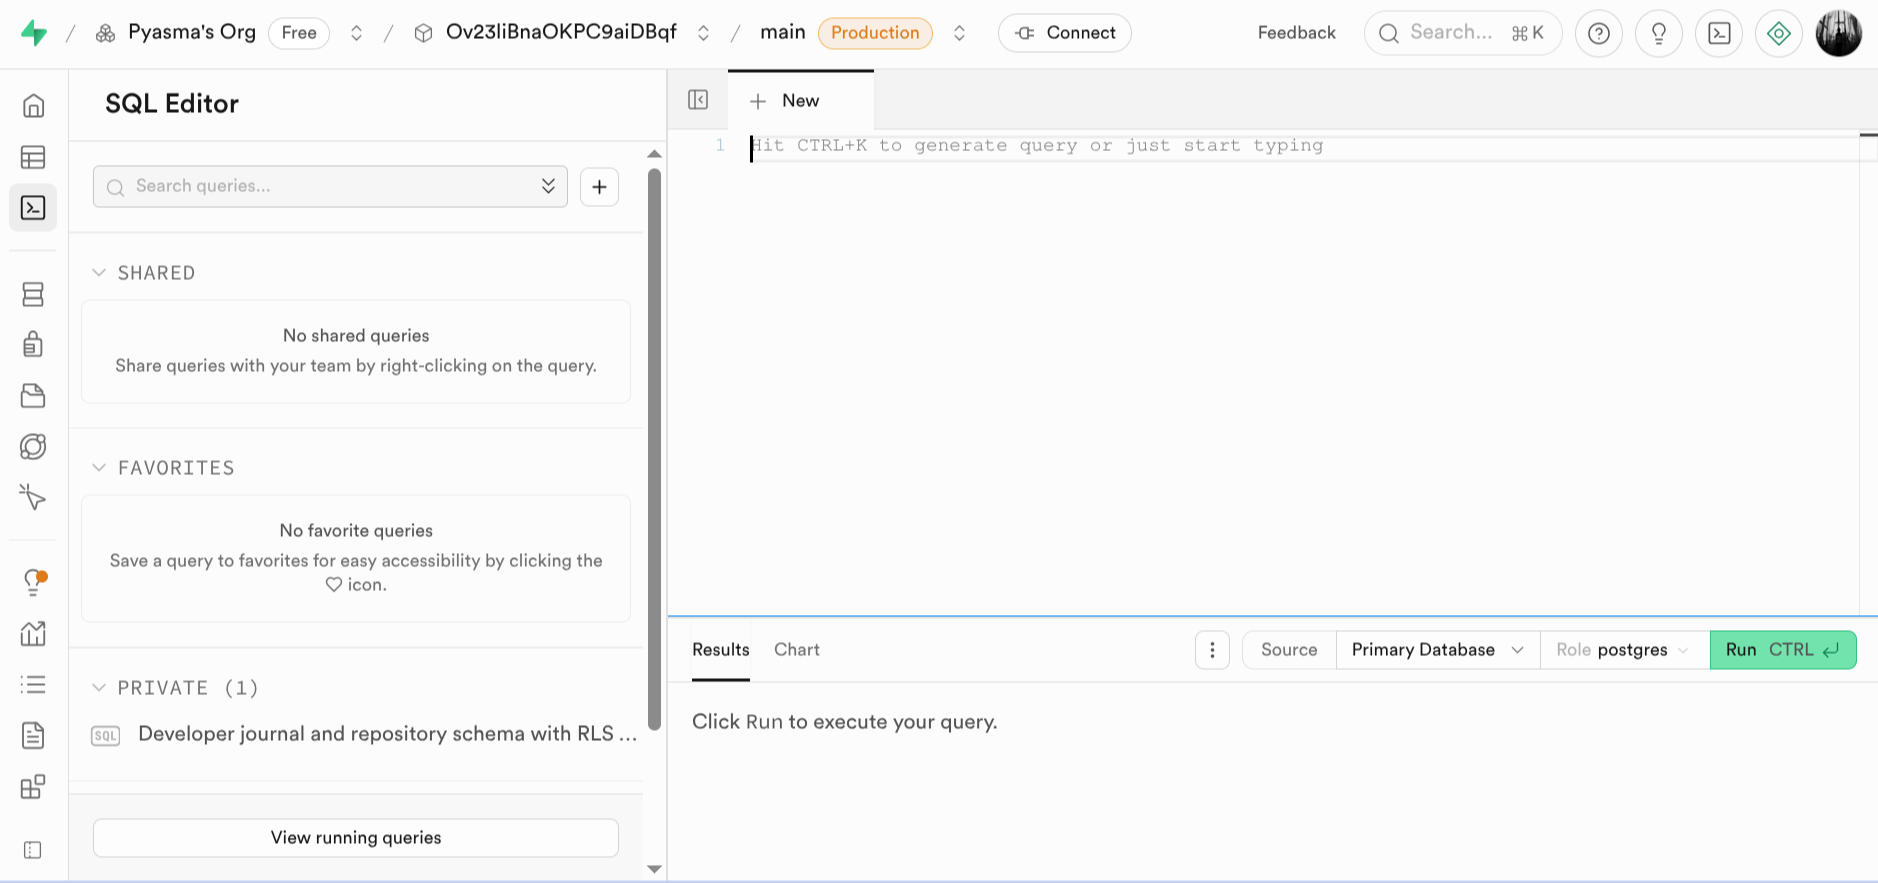
2. Go to the **SQL Editor** in the sidebar.
3. In your project folder, locate the SQL files that define your database structure.
4. Copy each SQL file’s contents into the **Supabase SQL Editor**.
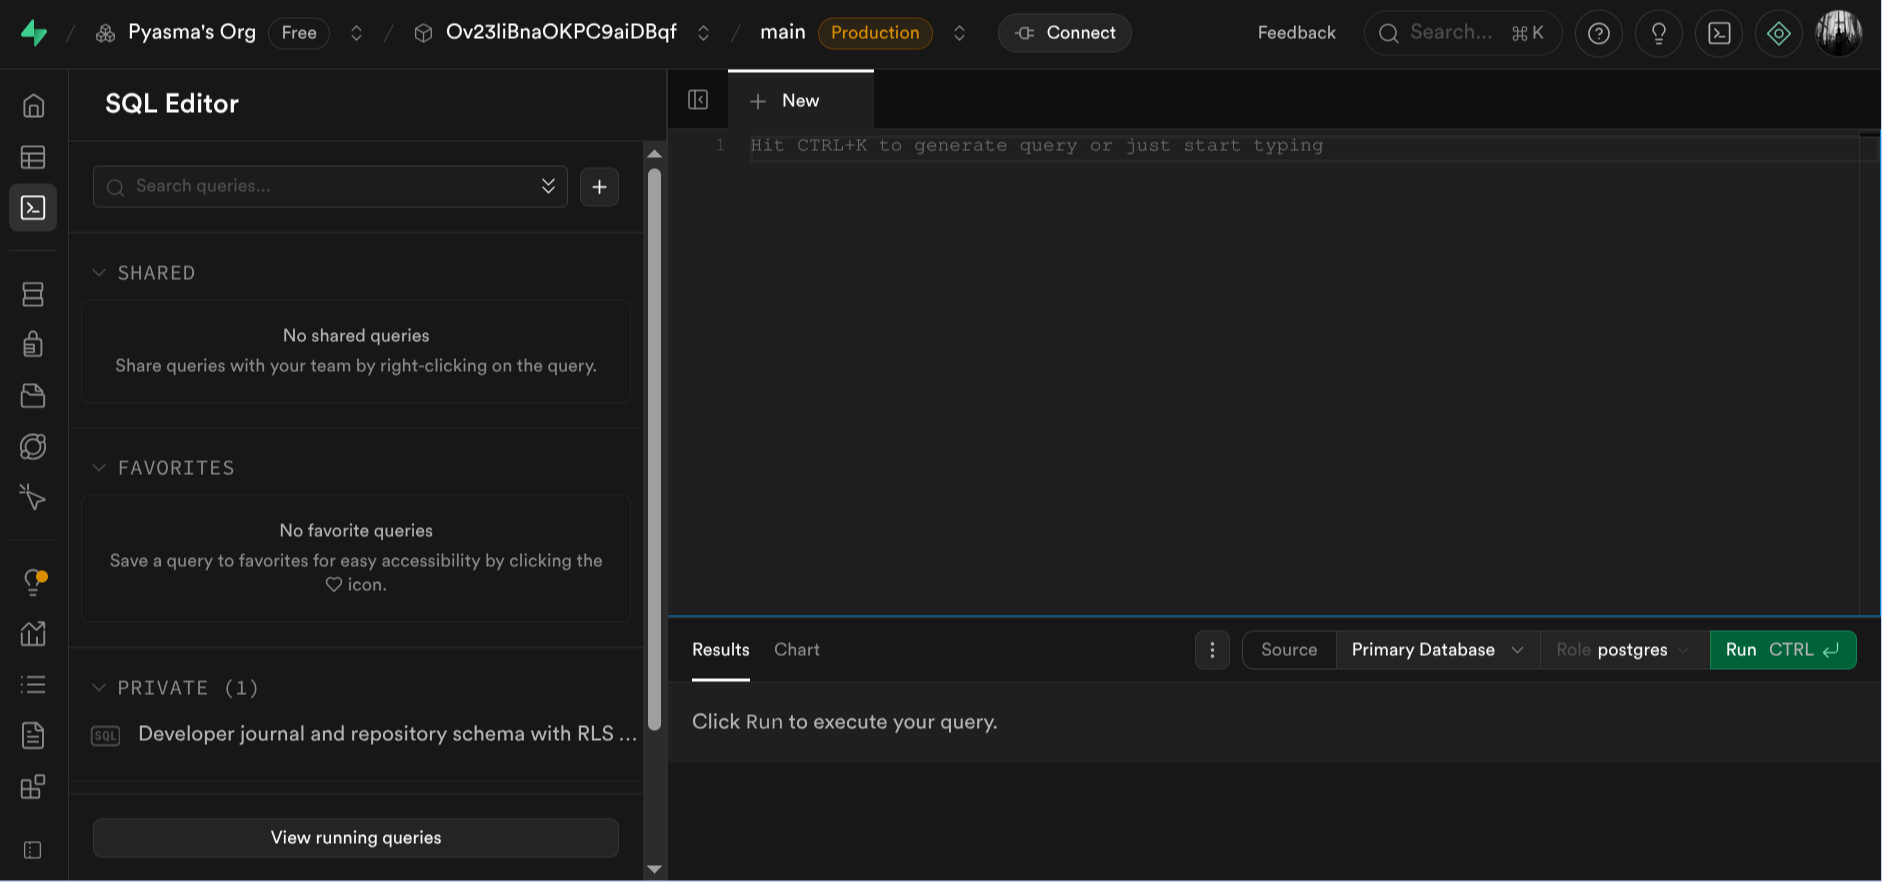
5. Click **Run** to execute each file.
 Once completed, your backend will be ready to connect to your Compyle app.
***
## Running Your Project
You can run your project in two ways:
1. **Locally** – ideal if you’re comfortable managing environment variables and local servers.
2. **Deployed** – through a hosting service like **Vercel**.
We recommend **Vercel** for most users, since it provides a simple, automated deployment process for Next.js apps.
Use the Supabase keys you copied earlier when setting up Vercel Environment Variables during deployment.
***
## Deploying with Vercel
### Step 1 — Connect to Vercel
1. Go to [**vercel.com**](https://vercel.com).
2. Log in with your GitHub account.
3. Click **Add Project**.
Once completed, your backend will be ready to connect to your Compyle app.
***
## Running Your Project
You can run your project in two ways:
1. **Locally** – ideal if you’re comfortable managing environment variables and local servers.
2. **Deployed** – through a hosting service like **Vercel**.
We recommend **Vercel** for most users, since it provides a simple, automated deployment process for Next.js apps.
Use the Supabase keys you copied earlier when setting up Vercel Environment Variables during deployment.
***
## Deploying with Vercel
### Step 1 — Connect to Vercel
1. Go to [**vercel.com**](https://vercel.com).
2. Log in with your GitHub account.
3. Click **Add Project**.

 4. Select the repository generated by Compyle.
***
### Step 2 — Add Environment Variables
Before deploying, open the **Environment Variables** tab.
4. Select the repository generated by Compyle.
***
### Step 2 — Add Environment Variables
Before deploying, open the **Environment Variables** tab.
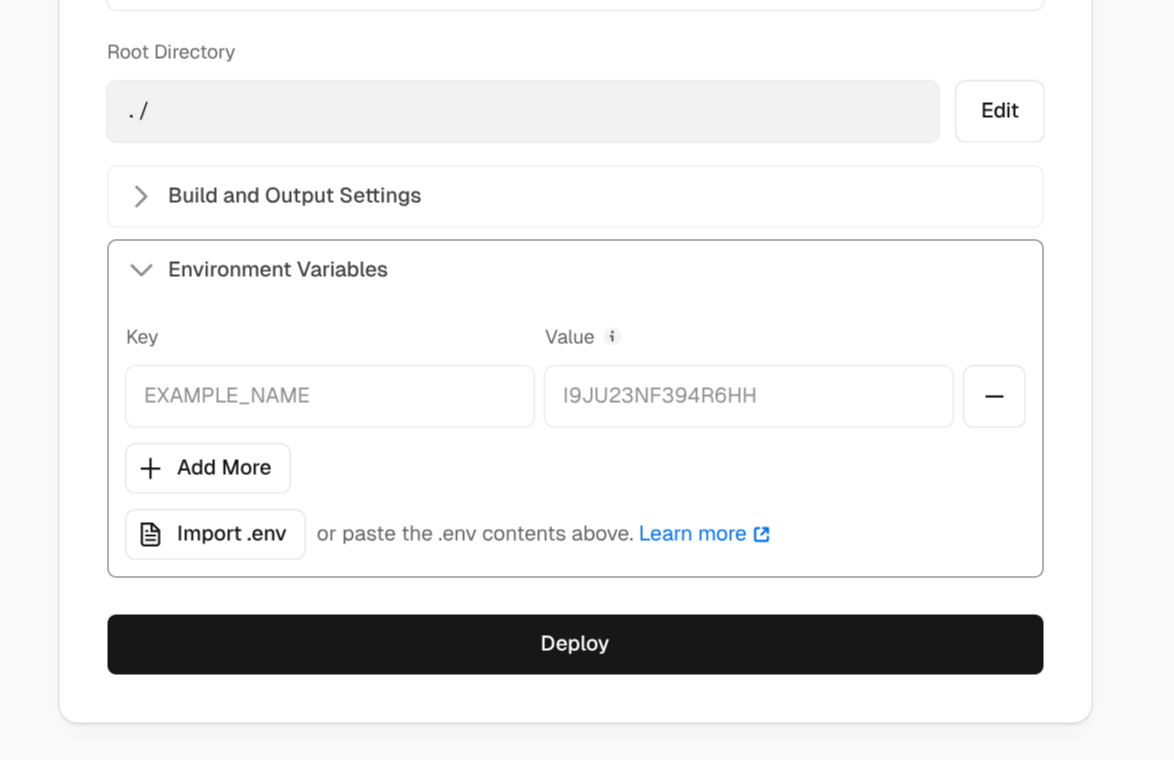
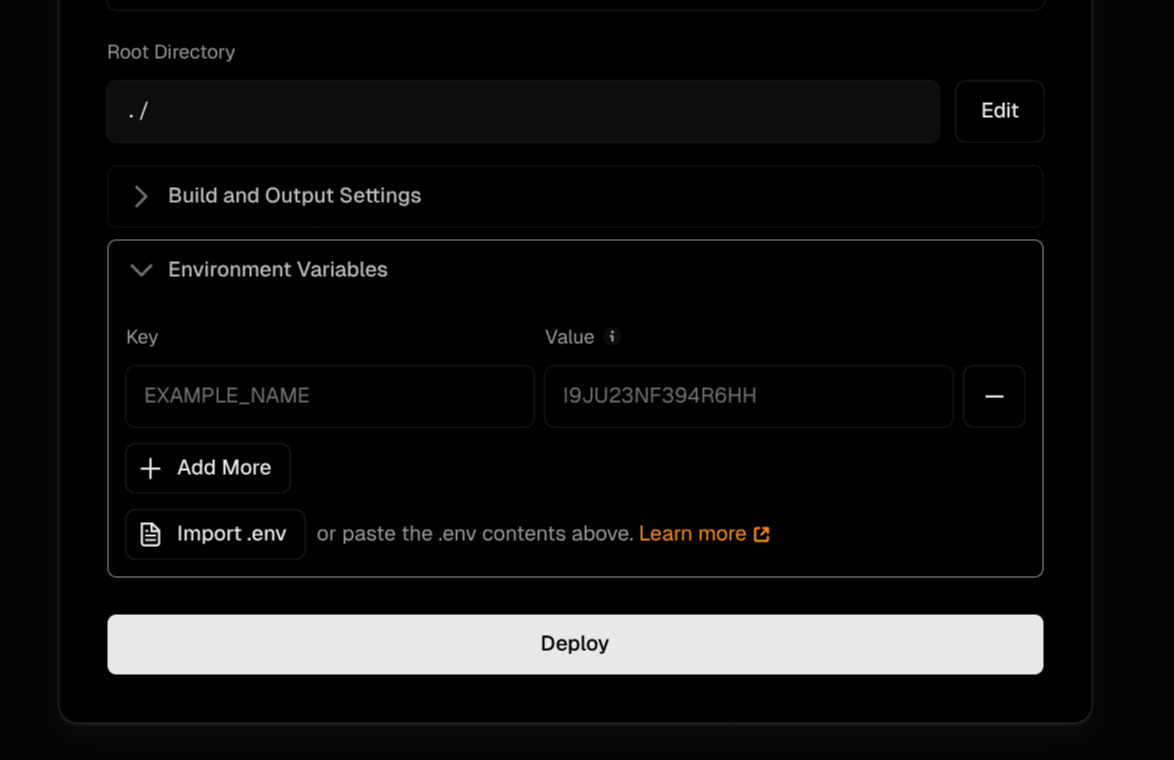 Add the values you copied from Supabase:
```bash theme={null}
NEXT_PUBLIC_SUPABASE_URL=your-url
NEXT_PUBLIC_SUPABASE_ANON_KEY=your-anon-key
```
Then click **Deploy**.
Vercel will automatically build and deploy your full project.
***
## After Deployment
Your deployed app is now live — fully connected to Supabase.
It will:
* Handle user authentication
* Store and retrieve data securely
* Manage file uploads
* Run frontend and backend logic seamlessly
That’s it! Compyle writes the code, Supabase powers the backend, and Vercel deploys your full-stack app — all in just a few steps.
Add the values you copied from Supabase:
```bash theme={null}
NEXT_PUBLIC_SUPABASE_URL=your-url
NEXT_PUBLIC_SUPABASE_ANON_KEY=your-anon-key
```
Then click **Deploy**.
Vercel will automatically build and deploy your full project.
***
## After Deployment
Your deployed app is now live — fully connected to Supabase.
It will:
* Handle user authentication
* Store and retrieve data securely
* Manage file uploads
* Run frontend and backend logic seamlessly
That’s it! Compyle writes the code, Supabase powers the backend, and Vercel deploys your full-stack app — all in just a few steps.